Tag Archives: car

Review: Elephas Novatek 96655 Car Dashcam – best budget choice that includes rear view camera

IMG_2616

Rating: ★★★★

PROS:

  • Includes number plate watermarking
  • Good low light performance
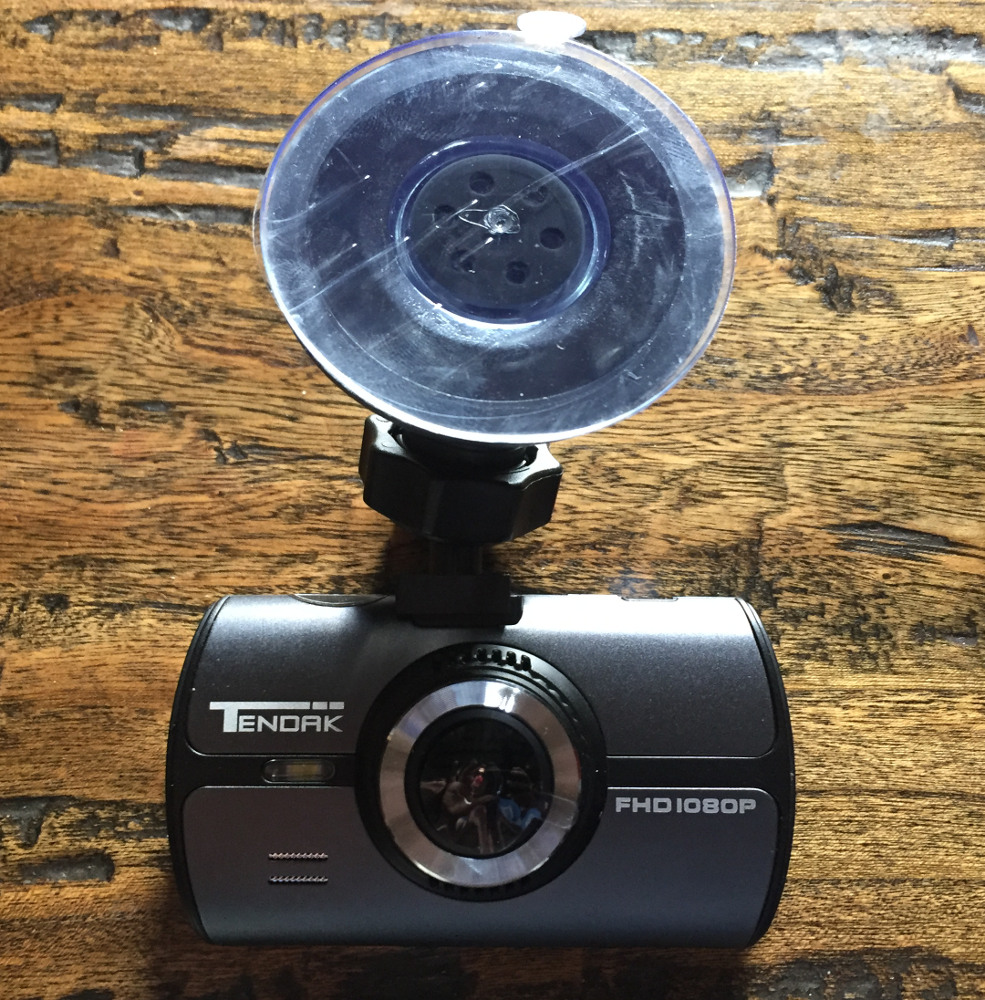
  • Cleverly designed mount makes docking and undocking easy
  • Includes rear view camera for extra protection

CONS:

  • Interface is a little clunky, some sound effects can’t be turned off
  • Onboard battery is pointless

Buy now from Amazon – best price at time of writing £64.25

As I’ve highlighted before on GEEK!, I feel that dashcams are becoming ever more important in business as well as personal vehicles. The increasing level of crash-for-cash accidents, paired with the ever-increasing price of insurance (particularly for young drivers) makes dashcams almost vital in proving your innocence during a not-at-fault claim. Thankfully dashcams are starting to get much cheaper and more readily available, and some firms are even offering discounts for fitting dashcams to vehicles.

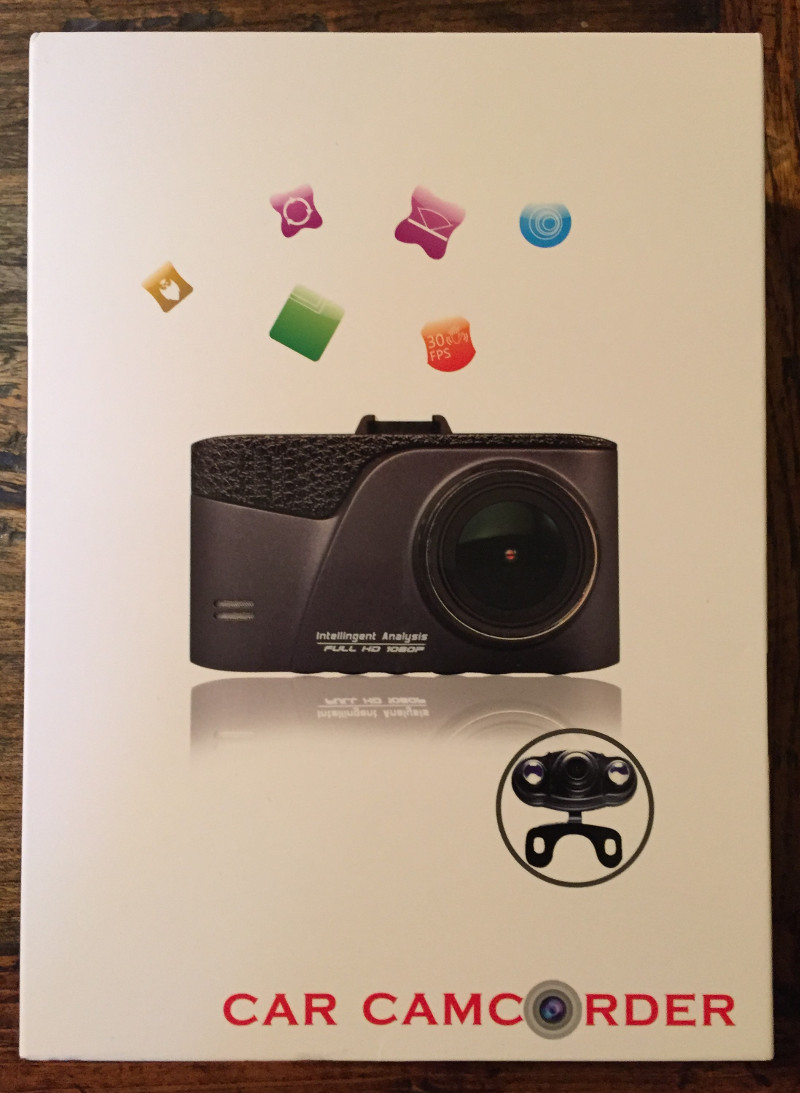
The ELEPHAS Novatek 96655 dashcam is another dashcam that’s recently entered the market. Upon opening the box you’ll find the usual contents that you’d expect – the dashcam itself, a charging cable (for your car), and a mounting device. Additionally, it comes with a rear view camera that can be installed separately should require it and then be connected to the main unit.

Setting up the dashcam is reasonably simple – although I personally found the interface to be a little clunky at times. The main buttons are on the bottom of the device – this sometimes makes it harder to access controls and navigate through menus. Once you get used to it you’ll be fine but it does take a little brain training!

Once you’ve set your basic preferences like video quality, audio recording and motion detection, you’re ready to fit the dashcam into your car. Simply attach the mount to the top of your windscreen and clip the dashcam in. After that, you just need to get a power source to the dashcam (using the supplied power adapter) and you’re ready to go.

You’ll find that as soon as you start driving the dashcam should power on. I was impressed by the unbelievably accurate motion detection that I believe is accomplished using an on-board accelerometer – there’s certainly no need to worry about turning the dashcam on manually when you start driving.

Recording quality was impressive – particularly in daylight conditions. It was a little less impressive in evening or night-time conditions but it certainly performed better in low light than some other dashcams that I’ve tried.

The video below shows a sample of the evening footage that I recorded with the dashcam. As you’ll see, even in low light it recorded some very decent footage – any object hitting your vehicle would be easily identifiable. You may still struggle to identify registration plates in low light, but I feel that the low light recording performance was good given the size of the camera.

The biggest niggle I found with the dashcam was the sound effects which I felt were a little annoying. I couldn’t find any way to turn off the bootup and shutdown sound which means that every time you start and stop your vehicle you get a very tinny tone. Hardly a massive hindrance but it might be annoying if you do a lot of start-stop driving.

Additionally, I’m not entirely sure why the manufacturer bothered fitting a battery to the device as it holds absolutely no charge at all – maybe one minute of charge at the most. I’ve seen other dashcams have a slightly more useful battery fitted to provide an emergency power source, but the battery in this device is just nonsensical. You’ll want to keep it connected to a 12v supply whenever you’re driving.

Other than those small issues, the dashcam is otherwise very impressive. The recording quality is solid in all conditions and having the rear camera is a massive bonus if you like being protected from all angles. A minor software update would fix the sound issue that I had – but for that issue I’d probably have given it closer to 5 stars.

Buy now from Amazon

[Christmas 2015 Gift Ideas] Review: Tendak 2.7″ Car DVR Dashcam – first class footage for under £60!

This slideshow requires JavaScript.

Rating: ★★★★½

PROS: 

  • Excellent footage quality at both 1080p and 720p with stunning 720p 60fps
  • Automatic recording and time-stamping makes day to day use seamless
  • Very small and light
  • Includes 16GB memory card out of the box

CONS:

  • No registration plate stamping
  • Built-in battery almost pointless
  • Fiddly controls

RRP £78, best price at time of writing £56.99 on Amazon

There’s been an increasing focus on in-vehicle video recording in recent years, partly thanks to a rise in the amount of fraudulent insurance claims (such as “crash-for-cash” set-ups) and partly due the increasing difficulty of proving innocence in a collision scenario.

In fact, dashcams – as they are so-called – aren’t anything new and have actually been on the market for a number of years though. However, as their quality has improved and prices have fallen, they are all of a sudden becoming an important accessory to have, with some insurance providers even offering discounts if you have one fitted.

I was keen to give the technology a go and got my hands on a Tendak model direct from Amazon. Complete with a 2.7″ on-board display, all power cables and a 16GB memory card, it comes with everything you need to get started.

Without even getting to the actual testing of the product, I was immediately surprised by the size and weight of the dashcam. It is much smaller than I was expecting it to be – and this is no bad thing at all – after all, the less distractions I have in my windscreen, the better. While small, it does have excellent build quality and feels like a product that was built to last. The buttons on the left hand side of the unit are sturdy but a little difficult to press, but this doesn’t really detract from the design of the product given how rarely you’ll use them once the dashcam is set up.

Speaking of which – set up was very easy indeed. I unboxed the product indoors, stuck it on charge for a while and then switched it on. Before you do anything else, it is essential to ensure the date and time is set correctly as you could be relying on that in a legal scenario. Using the on-screen menus with the left hand side buttons was admittedly rather fidly and did take some getting used to – but it just takes a little mastering. I went ahead and set mine in 720p 60fps mode – the device is fully capable of 1080p but I wanted the higher frame rate as I feel this could be important if I ever needed the footage to send to an insurance company. Once you’ve set up your basic settings like motion detection (you’ll want this on if you want the device to work automatically) and power saving mode (turn this on if you don’t want the display on all the time while you’re driving), you’re ready to mount the device in the car. You may also want to turn on or off the on-board microphone – I for one am not hugely fussed about my in-car conversations being recorded and turned this off!

Fitting the device in your vehicle should be fairly easy. The included windscreen mount works perfectly well and securely fits the dashcam its housing. The next step is wiring the device in – and depending on your vehicle you might find this frustrating. I myself have a Mk7 Ford Fiesta which, surprisingly enough, is actually used in the product demonstration photos. In my case, I could run the power cable along the top of the windscreen without it being visible, but would need to remove trim from the side of the car to hide cables completely. The supplied power cable has ample length and you shouldn’t run into any problems there. I was also pleased to see that the included 12v vehicle charging adapter also included a built in USB port for phone charging.

Once it’s fitted, you’re ready to go. The device will boot up automatically as soon as you feed it power, and will record almost instantaneously. It’ll then, depending on how you’ve configured it, will break footage down into segments. I chose 3 minute segments as I felt this would be enough to capture most scenes. It’ll keep recording until the motion stops as long as you’ve got motion detection on (which was unbelievably accurate – almost too accurate!). And that’s about in terms of getting it going.

One word of warning though – make sure your vehicle doesn’t feed power to its 12v socket all the time – for two reasons. First, you risk running your car battery flat if it is constantly feeding power to the dashcam. Second, you’ll overwrite all of your footage with potentially usage stationary footage if you haven’t got motion detection on. Thankfully, most vehicles these days have ignition-timed power sockets, but it’s fairly important that you do check before you buy.

Video footage from the dashcam was, in my view, outstanding. OK – let’s be fair – this is a fairly small camera – but for its size I feel it performed very well. Daylight footage, in particular, was very good with very decent frame rates and suitable definition. The wide angle lens also captured almost the entire viewing area of my windscreen, which was impressive. Night footage wasn’t as good, but still fairly acceptable – especially in well lit areas. It would capture a crash at night without much trouble – but you might have some trouble reading a registration place.

Take a look at the sample footage I took to get an idea of how it performs.

Getting the footage from the camera is easy-as-can-be. Simply remove the microSD card, place it in a card reader or SD card adapter, and then copy and paste the video files you need. G-sensor detected “crash” footage is shown in the EVENT folder, while normal video footage is stored in the VIDEO folder.

The only major niggle to me was the battery. It has a rechargeable battery built in that’ll function for about 30 minutes. I get why it’s there – most likely for backup power, but it seems fairly unnecessary to me. Not exactly a massive blow, just a bit of a disappointment in that area.

Overall, I was genuinely very impressed with this dashcam. It produces excellent footage, fits neatly in your vehicle, and doesn’t cost a fortune. At around £50, this could pay for itself easily in the event of an accident.

Better still, some UK insurers now offer discounts for having a dashcam fitted. Swiftcover offers a straight 10% off for any vehicle that has a working dashcam fitted, while AXA Car Insurance offers up to 10% off for a vehicle with a working dashcam. With this in mind, your dashcam may even pay for itself!

Buy now from Amazon UK

Review: 1byone magnetic windscreen phone mount

Rating: ★★★★★

PROS: 

  • Excellent design
  • Good value for money
  • Available in 3 different types to suit all cars and drivers

RRP £12.99, best price at time of writing £5.99 on Amazon

I tell you one thing that really gets on my nerves is the cheap, “universal”, Chinese windscreen phone mounts that you can get for your phone. They rattle, they fall apart after a couple of dozen uses, they are bulky and they are a nightmare to set up perfectly.

So you can imagine how happy I was when 1byone gave me one of their newly designed magnetic windscreen phone mounts to try. They actually come in three different flavours – one for the windscreen, car vent and – interestingly enough – the CD drive for your car.

I opted for the windscreen mount as that tends to work best for my particular car (Mk7 Ford Fiesta). This windscreen mount is different to many others that are available on the market as rather than actually holding your phone with a grip of some sort, a magnetic force is used to keep your phone in place.

Inside the box you get the mount itself, a very thin rectangular magnet and an extra circular thicker magnet.

It works like this – first of all you stick the mount in your car as you normally would. Then, you can either

  • place the thin rectangular magnet inside your phone case – between the phone and the case
  • or place the circular magnet to the back of your phone or case with pre-applied adhesive.

I chose to use the small rectangular magnet which fits snugly inside the official iPhone 6 leather case. You wouldn’t even know it was there – the phone barely appears any thicker than it was.

Once you’ve got your magnet fitted you simply place your phone in front of the mount and, of course, it’ll be magnetically stuck to the mount.

The solution works brilliantly for a number of reasons. First of all, it looks really neat and tidy. Looking at it from the right angle (from the drivers seat) it almost looks like the phone is floating in mid-air!

Second – it DOESN’T RATTLE! I know I tend to be melodramatic about these kinds of things but without doubt this is the first phone mount that doesn’t rattle at all while I’m driving. It’s probably one thing that’ll annoy some people more than others but for me having things rattling in the car drives me mad!

Finally, with it being magnetic, it’s really easy to mount and dismount. Rather than having to find  a small button on the side of the mount to release the phone, now you simply just pull the amount away firmly. And then to put it back, just place it in front of the mount again. Easy!

In this particular case I really can’t find anything to complain about. It’s a simple yet very smart idea that works perfectly in the car.

Overall, this is a fantastic phone mount that will definitely have a permanent place in my car. At just £5.99 (at the time of writing), it’s barely any more expensive than a conventional phone mount, almost making it a no brainer!

Buy now from Amazon

Why bother on a high capacity laptop battery when you can get a car inverter?

My laptop is fantastic – it’s dual core with 2GB of RAM and is powerful enough for most of the tasks I need it for. There’s only one downside – the battery. It won’t last more than about 1.5 hours even on a good day. Hopeless – even for watching a short film.

So I was thinking whether I should buy a higher capacity battery. They aren’t exactly cheap. And then there’s the thought that in a worryingly short amount of time, it will be worn out and will need replacing again. But then I thought where is the place I use the battery the most? After a good brainstorm, I discovered that the place I use my laptop most is in the car.

I’d heard about car inverters before, but had been told they were quite expensive and weren’t capable of producing very much power. Well when I was wondering around the Maplin electronics store, I suddenly bumped into one. It claimed it was capable of producing 150 watts constant and a 450 watt surge. In addition, it was just £20 to include the inverter, plus a spare fuse just incase it blew. So I thought it’s always worth a try and bought it. Then I went straight back to the car and plugged in the laptop. Worked straight out of the box.

I’ve discovered that laptop chargers generally only need between 35 and 75 watts of electricity to run, so a 150 watt inverter was easily enough to get it going. Plus there are a number of things you can run with that amount of electricity – phone chargers, camera chargers, fans, even small TVs. You can even attach a double socket and power your phone and laptop charger at the same time. So it could be perfect if you are on a camping trip and you need a bit of juice for your gadgets and gizmos. My inverter even came with a low battery warning to make sure you don’t run your car battery flat, plus it has an overheat/overload monitor.

I think it’s a great idea. It saves having to get car chargers and high capacity batteries. And it just plugs into any car cigarette lighter socket. For only £20, it’s hardly worth missing. Mine came with a year’s warranty, so you can’t go wrong. It’s ideal to keep the kids happy in the back as it can charge games consoles and the likes, or charge up your essentials on the way to work.

I’d really recommend one. They are available online and I just got mine from a Maplin store in town. You just plug it into the cigarette lighter and away you go.