Author Archives: GEEK!

[FIX] iCloud IMAP username and password rejected

Following the recent expansion of iCloud (or, more specifically, iCloud+), it is now possible to add a Custom Email Domain and effectively utilise email hosting for your own domain name. 

This allows Apple’s popular cloud solution to compete with alternatives provided by Microsoft and Google – although admittedly it could be argued that this functionality is more aimed to the “prosumer” rather than enterprise environments.

That said, once configured, it’s a fairly easy to use and highly available method of hosting your email. You can see in my example screenshot below, I have two domains configured.iCloud Custom Domain setup

However, you might experience issues when trying to configure your iCloud based email address with an email client such as Microsoft Outlook or Mozilla Thunderbird. The issue I was experiencing occurred when I tried to enter my email address, username and password. Apple’s own documentation tells you to use the email address of the account you wish to add as your username, but in my case I consistently got an error suggesting my username was not recognised.

The correct username is actually the username for your iCloud IMAP account, which is inconveniently hidden away within your iCloud mail preferences. To find it, go to your iCloud Mail in your web browser, log in if prompted, and then select the settings cog (above the Mailboxes heading).

iCloud Mail

Then select Preferences. Once the Preferences window loads, then select Accounts. You should then see each of the email addresses you have configured for your iCloud account. What you’re looking for is the address which has “iCloud IMAP” below it – this is the username that you need to use to connect to iCloud mail via IMAP. 

iCloud IMAP

It’s worth noting that if you have two factor authentication enabled on your Apple ID (most accounts will), you’ll need to generate an app password for your email client. Follow the instructions in Apple’s support article and use the password provided at the appropriate step as the account password in your email client.

Don’t be fooled, Bitcoin is not for everyone – here’s why

What a supercharged few months it’s been – since the beginning of 2019, Bitcoin has seen massive spikes and swings in value, peaking only a couple of months ago at a little over £10,000 ($13,000) per Bitcoin. Today, that peak was threatened with Bitcoin currently on the market for around $12,800 – an astounding price when you think that 6 months ago you were looking at getting around a quarter of that price.

If you’re frustrated by appalling savings rates that fail miserably to keep up with inflation, high profile investment funds suddenly being frozen and the overall increasingly difficulty of making your money work for you, it’s impossible not to be intrigued by the prospect of crypto currencies such as Bitcoin. Its almost unbelievable storming of the markets makes it hard not to question whether it could be a sensible next step for your savings.

As someone who has a moderate understanding of how stock markets work having dabbled a little with commodity trading and forex, I felt it was high time to give Bitcoin trading a go. It’s important to note here that I did actually make a modest return on my small investment in the space of around 5 days, so this isn’t just a moan about a soured investment, but don’t be fooled – it’s not as simple as you might think. Here are the steps I went through to reach that point and why Bitcoin isn’t everything you’ve been hoping for.

Before you begin trading with Bitcoin, you first need to organise yourself a cryptocurrency “wallet”. There are plenty of these available, but you need to get your head around the different types of wallets available and how secure they are. Without going into massive amounts of detail, you ideally want to be holding your cryptocurrency in a wallet that’s offline and not accessible from the internet. Offline, you say? Isn’t Bitcoin supposed to be the digital currency of the future? This is the first major caveat you have to consider: before you do anything with Bitcoin, you must understand that at this moment in time it’s almost entirely unregulated. So, if you store your Bitcoin wallet online, and your account gets hacked or your wallet provider mysteriously disappears, you have absolutely no protection. No bank you can complain to, no government that will defend (let alone guarantee) your financial interests, nothing. So there is a real prospect that, even if you make a reasonable return in trading, your funds might be lost in their entirety. And if they do, you have almost no recourse. You might think there’s a relatively remote sense of this happening – and in the grand scheme of things you’d probably be right, but it has happened. So I decided to use what’s called a “local” wallet which is solely accessed from my mobile using biometric security, and can only be recovered with a predetermined recovery key. You need to research the different types of wallet that are available and make up your own mind.

Once you’ve got your funds transferred into a Bitcoin wallet, you effectively have an open trade – in the sense that your fiat currency has now been used to purchase Bitcoin. You can now leave your cryptocurrency in this wallet until you wish to sell.

Great, you think. So some time passes, the price of Bitcoin rises (you hope!) and eventually you feel the time is right to cash in on your investment. How do you go about that? You have a few choices here. The first, and probably simplest, is to sell using your Bitcoin wallet – if this is possible with your provider. In my case, my wallet had a partnership with a trading platform. So I thought why not sell through them? The downside here is fees. The convenience of selling your Bitcoin from your wallet comes at the cost of a middleman who wants to take a, in many cases, pretty steep cut of your wallet value. At this point, you’re probably starting to think that this has a whiff of familiarity – haven’t we come across financial middlemen who want to take cuts wherever they get involved? Wasn’t Bitcoin and cryptocurrency in general supposed to be this utopia of decentralised, open currencies that aren’t bogged down by dodgy banks that make a small fortune on fees and then have a habit of going bust while causing medium to extra large financial disasters?

The other way to sell your cryptocurrency is to transfer is to a trading platform and sell it there. Mercifully, as this is now a very competitive market, there are various platforms available all offering different rates, so it’s relatively straightforward to find one you like and complete your trade. Sadly, however, this doesn’t escape you from the fees. In fact, I got hit twice. The first time hit was at the point I transferred the funds from my wallet to the trading platform – most wallet providers charge a fee for sending out cryptocurrency elsewhere. The second time was when the trading platform charged to transfer the fiat currency back to my bank account. OK, platforms have to make money, but my main argument is that Bitcoin is supposed to be simpler, with supposedly less hoops to jump through and more promise of a brighter future.

At the end of the trading day, you start to wonder whether this is actually any simpler, any more accessible or anywhere near as safe as regular trading. You still have all the same risks as trading commodities or fiat currencies, but also have to worry about the security of your wallet and the solvency and trustworthiness of your trading platform. Don’t get me wrong – it’s not that you don’t run these risks to an extent with traditional trading, you just feel more vulnerable with Bitcoin.

I’m not going to argue that cryptocurrency isn’t a very powerful concept, especially given the 21st century computing power we have today. The truth is that, in one form or another, crypto currency is very likely to form a part of our financial futures. It’s just not ready to be traded by those without serious risk appetite and plenty of spare cash.

The investment that I made was very much a test and while I was glad I made a small return on it, I can’t help but feel the process was pretty painful and risky. It’s difficult to escape the thought that you’re in a digital version of a dodgy neighbourhood, wondering how long it would take you to get out if things went sour. In many ways, as much as regulation isn’t popular with the markets and lack of it is pretty much the principle of crypto currency, that’s what gives most people the confidence that the market you’re investing through is fundamentally sound and secure. Without it, you just can’t be sure that any of your money is safe, let alone the profit or loss you make. It’s a digital dark alley, and as exciting as it might feel to look at the skyrocketing markets, right now it just feels like you’re trading your savings for little more than magic beans.

Linx 10V64 Review – the budget Windows 10 tablet on a new playing field?

Rating: ★★★★

PROS:

  • Improved Atom processor and 4GB RAM for the first time in the Linx range
  • Windows 10 performance better than ever
  • New kickstand definitely a welcome design improvement

CONS:

  • Low resolution 720p screen (still!)
  • Touchpad leaves something to be desired
  • Slow to charge

Buy now from Amazon – £219

Linx are stepping up to the challenge of improving performance on their portable, lightweight tablet range this year and the latest product to reach the high street is this – the Linx 10V64. It packs a punch for the pricetag with a brand new Intel Atom processor and an impressive upgrade to the memory with it now boasting 4GB of RAM – but are the new features enough to make it the best budget Windows tablet around right now? Let’s find out!

This slideshow requires JavaScript.

Introduction

The Linx 10V64 is far from the first Windows tablet they’ve ever made, and Linx now have a growing range of options to suit a wide variety of needs. They’ve come a long way from the Linx 10 they first released back in 2014 with a wide range of designs now available all with different accessories and specifications.

The current generation of Linx tablets for 2016 includes the Linx 820 for those who prefer the smaller screen size, the Linx 1020 which looks remarkably similar to last year’s 1010 and this – the Linx 10V64, which is a new specification baseline for 2016.

Where does this one stand? I’d say the 10V64 is aimed at slightly more power hungry users who are looking for more of a casual laptop substitute as opposed to a travel tool or toy. Don’t get me wrong – it’s never going to give the Microsoft Surface Pro a run for it’s money, but you’ll certainly be able to multitask more practically with it and possibly even handle light gaming (emphasis on the light, though!).

Design

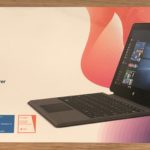
The Linx 10V64 shares more design similarities with its distant ancestor, the Linx 10, than with its more recent predecesssors. With this model, you’ll notice the reintroduction of the fold-over material cover design, but with several improvements. Most signficantly, you now have a physical kickstand, and it’s fair to say this is world’s apart from the oragami style stand we had with the Linx 10. You have the capability to stand the tablet at two decent viewing angles – one that’s aimed at close up usage and the other that’s more aimed at film viewing. The kickstand is sturdy and while a little thinner than I’d like, it does have a reassuring level of strength that suggests it should withstand day to day usage happily.

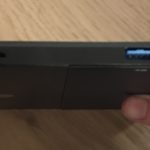
Other design changes include the clip on keyboard cover, which makes a satisfying click when docking it to the tablet itself. Additionally, they’ve made a couple of connectivity changes which might be seen as better or worse depending on the angle from which you’re standing. You now only have a single USB 3.0 Type-A port (instead of two on the 1010), but you do get a microUSB OTG cable in the box to provide you with that extra port should you need it. The charger is now a hardwired microUSB plug which provides 2A of power – I’m not entirely sure why Linx decided to go down this route instead of providing a power brick with a USB port. Cost savings, maybe?

Hardware

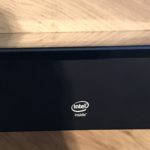
Under the hood is where you’re going to notice the vast majority of improvements. The Linx 10V64 sports an Intel Atom x5-z8300 quad core processor which has a higher general clock speed and a lower SDP, resulting in greater performance with less battery drain. In addition, you now get 4GB of DDR3 RAM instead of 2GB. As a result, the device is much more capable of multitasking and will quite happily juggle 3 or 4 applications at the same time without any signifant slowdown.

64GB of eMMC storage is fitted by default (around 20GB of which is used by the device itself) – this isn’t a gargantuan amount but will happily store your office software and a small multimedia collection. For those that need more, there’s a MicroSD card slot which supposedly will allow you to add up to 200GB more storage with the right card.

Network connectivity is little improved since the last model with the device still supporting 802.11b/g/n. Sadly there’s still no 5GHz support which is a shame, but most day-to-day users probably won’t notice the difference.

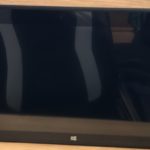
The only real area of disappointment is the screen, which still only operates at a resolution of 1280×800 (720p). I’d have happily paid a little more to see this reach 1080p, but Linx clearly have a few old display units they need to use up!

Battery life

Battery life is one area where the Linx 10V64 carries the baton from the last generation. Under normal use (web browsing and music playback), I was able to achieve around 6 hours of usage which is more than usable. Dim the display a little and you might even squeeze out another hour of juice.

Unfortunately, the same level of enthusiasm isn’t felt when it comes to charging the tablet. From flat to full, it took almost as long to charge as it took to discharge. This is largely down to the poor 2A power input which really should have been improved since the last model.

Display, keyboard and mouse

I used the tablet as my daily driver for a few days just to get an idea of the user experience, and for the most part I was pretty impressed.

Typing isn’t a problem at all with this tablet – the soft keys took a little while for me to get used to but I found myself typing at a decent speed in no time. Key travel is average and the keys sometimes feel a little stubborn, but it’s more than acceptable for a device of this size with a decent amount of space between each key.

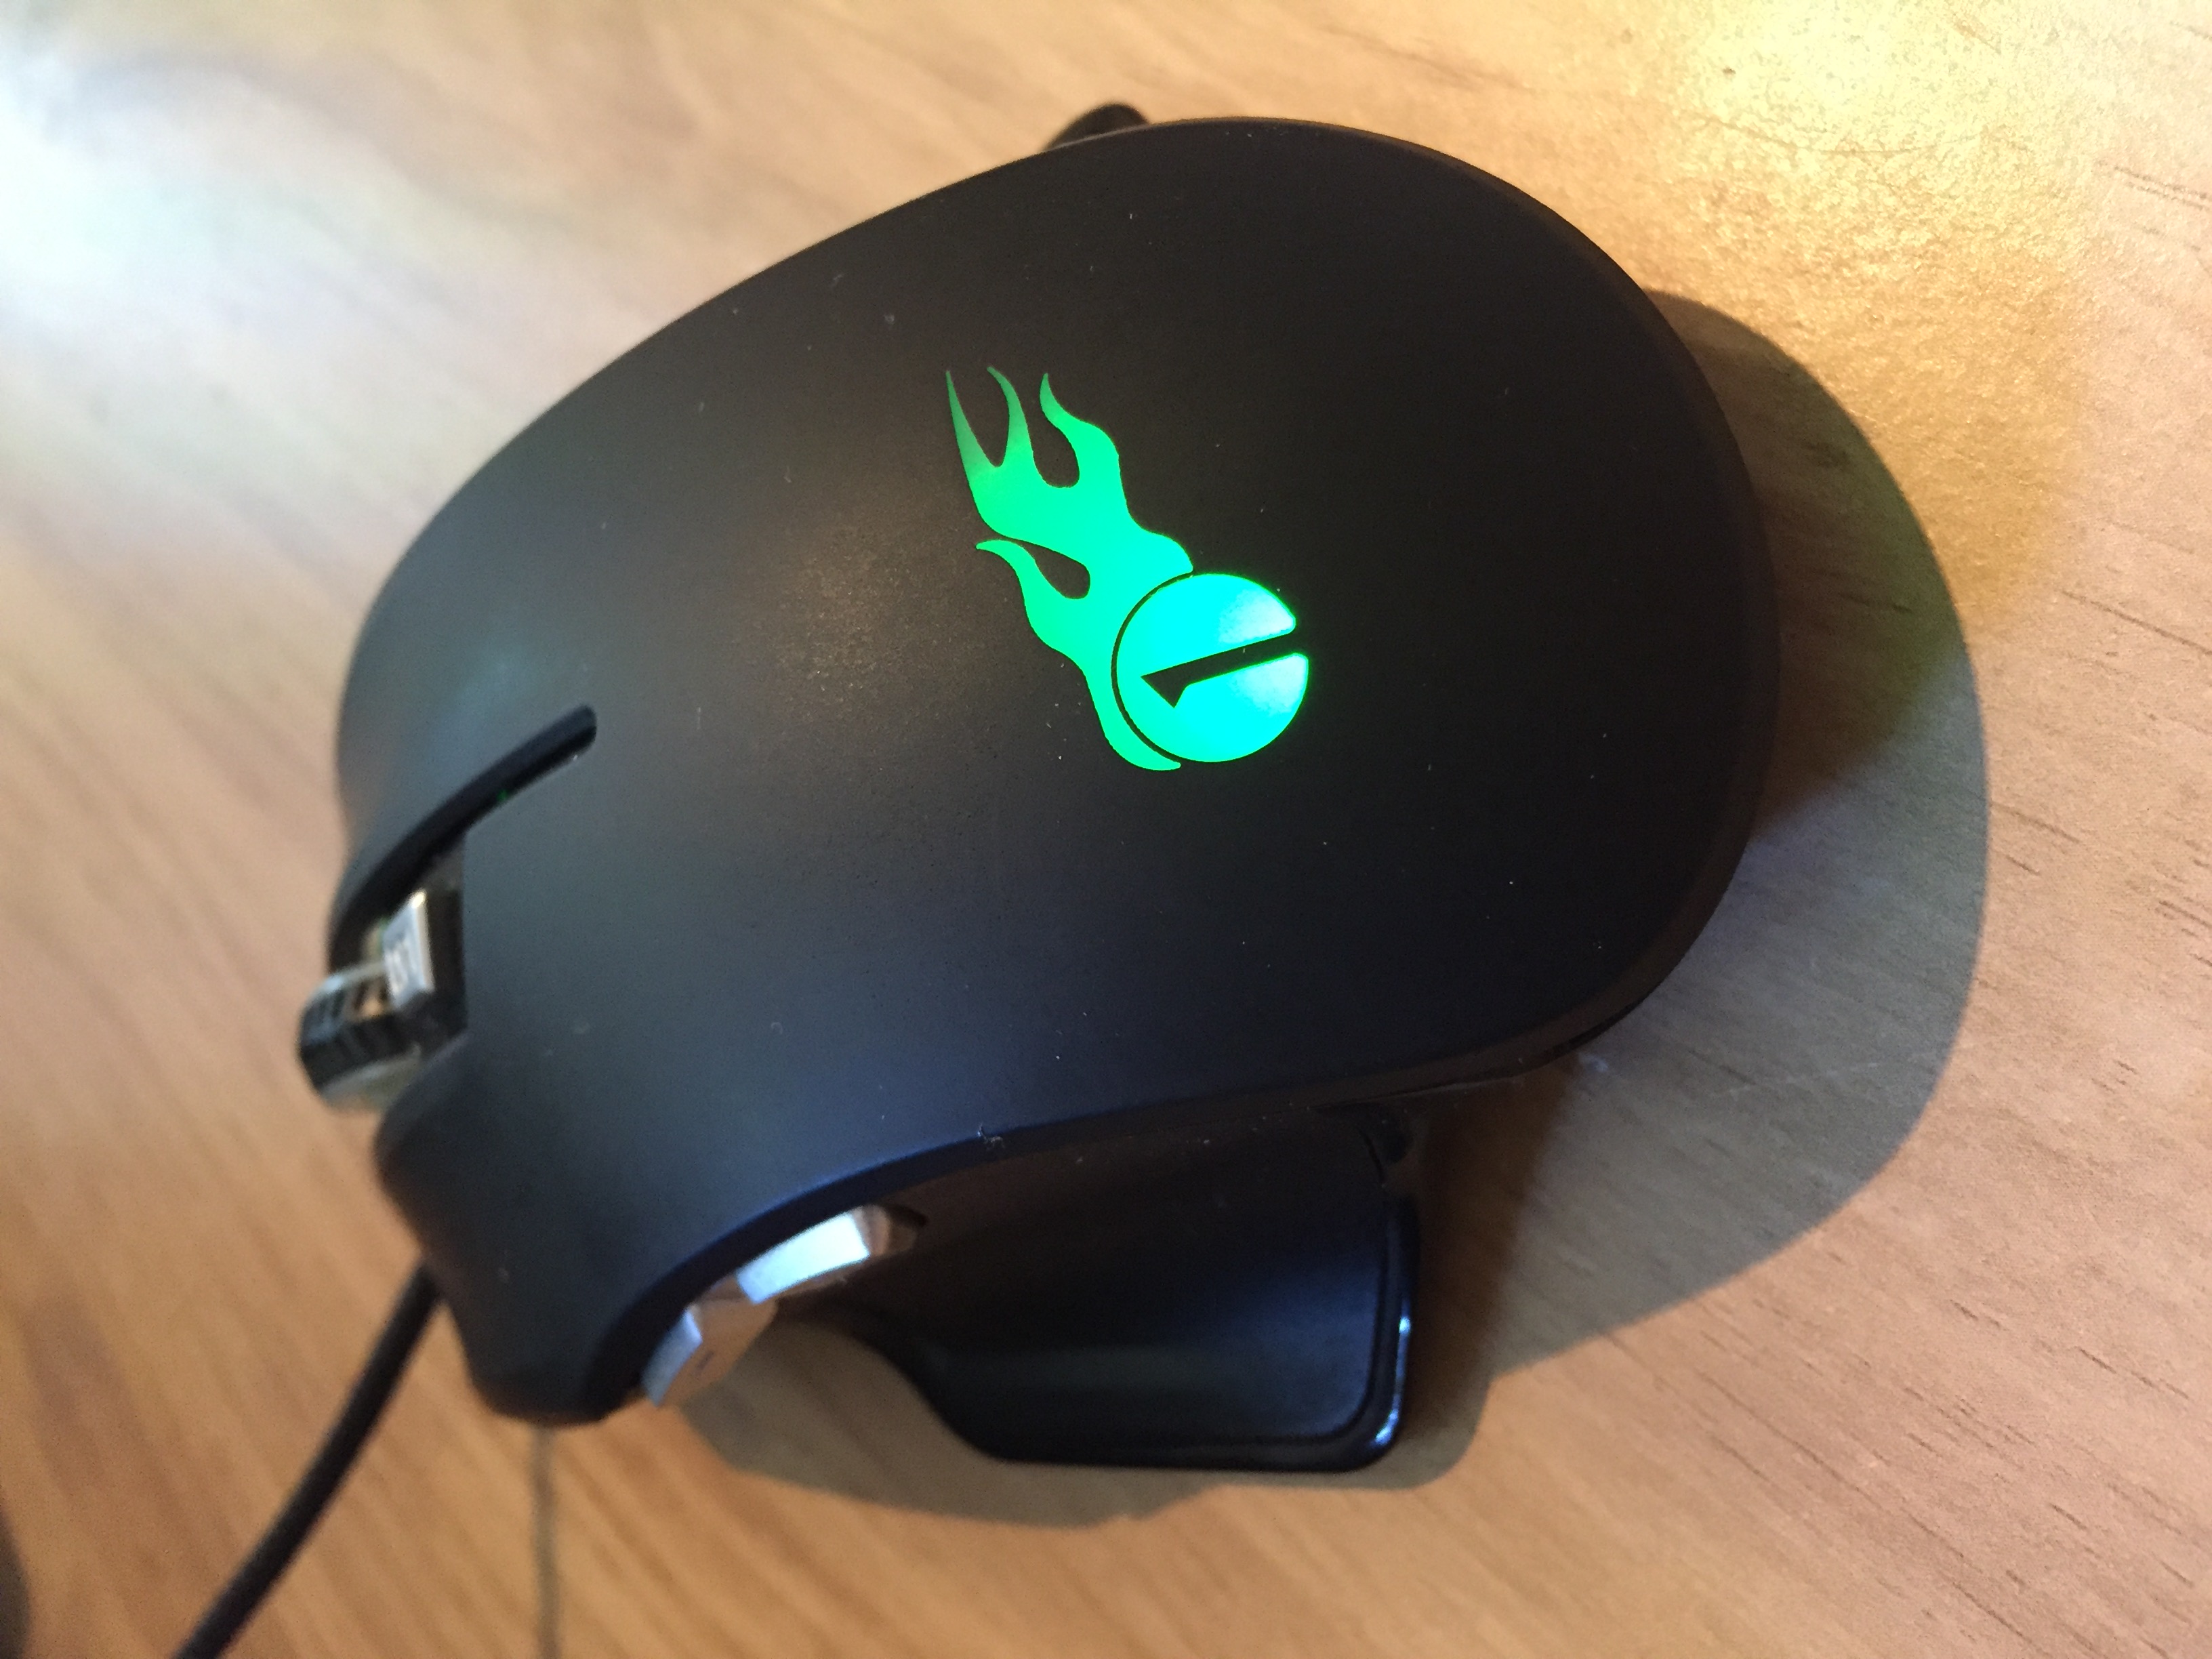
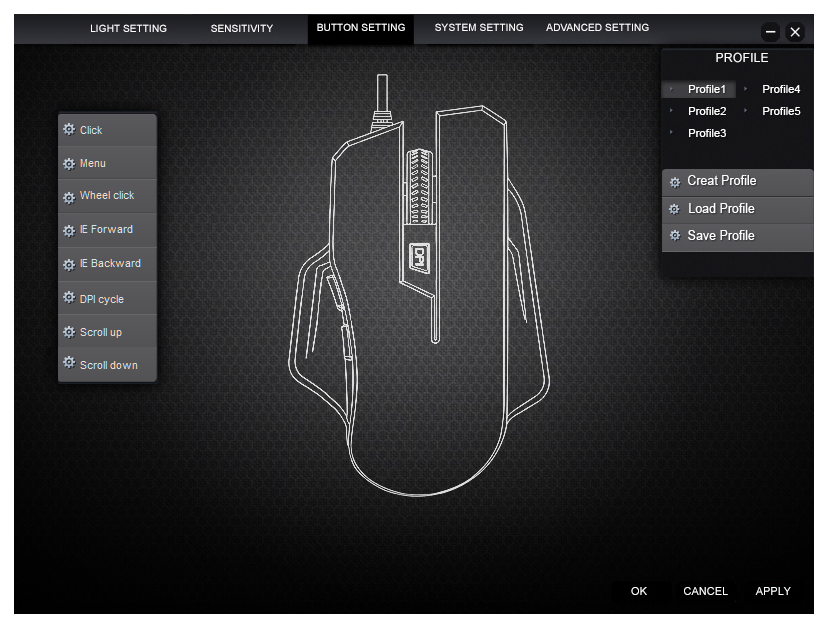
The touchpad is, as usual for this kind of device, fairly disappointing. In fairness, moving the mouse and clicking with the touchpad is pretty comfortable – however, it has a huge tendancy to be over-confident with the pinch to zoom function, meaning it’s all too easy to zoom in and out while browsing a webpage in error. If you’re going to be using this tablet a lot at a desk, I’d strongly consider investing in a Bluetooth or USB mouse.

Thankfully, the usability of the device is redeemed as soon as you start working with the touchscreen. It’s incredibly precise and has no input lag whatsoever – this is really great to see. Colours are a little washed out when viewing photos, but the brightness of the device makes it easy to work with it a well-lit environment.

Worth the upgrade?

If you’re still using a Linx 10 or any other old Windows 8 tablet, I think there’s definitely a fair argument in favour of upgrading. Linx have made the effort to improve the raw performance, and this does show when using the device for extended periods. Apps launch much more quickly than on older models and the boot up from cold speed is a matter of seconds – something that puts devices like the iPad to shame considering the size of the Windows operating system. You’re going to struggle to get better value for the specifications – when you consider you’re getting a specification equivelent to a mid-range small laptop, it’s hard to beat for a little over £200.

For those using the Linx 1010, it’s a more difficult set of scales to balance. The form factor is very different compared to the 1010, and those who want a solid keyboard/touchpad cover will be disappointed. However, if you’re looking for a power boost and you’re not too worried about the loss of one of your USB ports, this could still easily be soon as good value for money.

For the first time Windows tablet buyers…

This is a steal. If you’re in the market for a Windows 10 tablet and you haven’t got the cash to go for a Microsoft Surface, this is the one to go for in my view. You’ll want to look elsewhere if you’re going to be using this for professional video editing or gaming (although older, less demanding pre-2013 games will probably run just fine), but if you’re considering this as a university computer or a Netflix streamer this will be more than capable.

Buy now from Amazon – £239

Review: 1byone 4000DPI Programmable Wired USB Gaming Mouse

Rating: ★★★★

PROS:

  • Very comfortable to use
  • Braided cable for extra durability
  • Performs well in game, easy to map buttons as per requirements
  • Inexpensive

CONS:

  • Only 6 LED colours to choose from, no fully fledged RGB system
  • Would have liked more programmable buttons
  • Software can only be installed from CD

Buy now from Amazon

Learn more about this product at 1byone.co.uk

I wouldn’t call myself a heavy gamer, but I do enjoy the odd PC game from time to time when I get the chance. Historically, I’ve very much been a controller-based gamer, typically relying on an Xbox 360 or Xbox One PC controller. 1byone got in touch with me and said they thought I should try gaming with a high DPI mouse designed for gaming, so i took them up on their offer to sample one of their latest models.

The mouse comes packaged in a simple cardboard box which thankfully doesn’t require any frustrating man-handling to open, and arrives together with a mini-CD containing the software required to use the mouse’s high DPI functionality. The software is fully compatible with most recent versions of Windows including Windows 10 but unfortunately can only be used as a standard mouse within Mac.

IMG_0253

The mouse itself fits very nicely in the hand and is a good size. If anything I might have liked it to be a tiny bit larger but that’s just personal preference and most will feel it’s an ample size for the job at hand. Buttons are well placed with a button marked ‘DPI’ on the top which by selects each DPI profile that has been configured (and simulatenously changes the configured colour scheme ready for each profile). There are then two other buttons on the left hand side of the mouse which by default act as back and forward buttons for your web browser.

Getting started is simple. Simply plug in your new mouse and then run the bundled setup.exe program within the installation CD and in a few easy steps you’ll be good to go. Once the software is installed, you can configure up to 5 gaming profiles and even assign the profiles to an individual game. The profile can even be automatically selected when a particular game starts.

Gaming_mouse_option_5a81854bfc124af8aa861d37bf9fbf38

Bar a minor spelling error, the interface is well designed and allows easy configuration of gaming profiles.

Playing games with the mouse is very easy and the comfortable thumb rest makes use of the mouse for extended periods of time comfortable. I’m not sure how I’d use the mouse in my left hand as it does seem to be manufactured for right-handed gamers, but that’s likely to be an issue that won’t affect many. The two buttons above your thumb are well placed so you don’t hit them by accident and have a very decent level of feedback and a loud click upon pressing.

Every button on the mouse including the left and right mouse button can be mapped, which can be particularly useful if you want to avoid using a keyboard almost altogether. One of my criticisms is the lack of buttons for you to be able to map – I’d like to have seen a couple more custom buttons myself but overall feel that the choice 1byone made is reflected well in the price.

IMG_0256

My biggest gripe with the mouse is the lack of downloadable software for it. At the time of writing, the only way you can install the software (which is absolutely mandatory if you want to do any form of gaming with the mouse) is to use the provided mini disk. If you don’t have a CD drive on your computer (and let’s face it, many of us don’t these days) you’re going to find the software difficult to install unless you have another computer with a CD drive kicking about. 1byone could however easily fix this!

Aside from those relatively minor niggles, this is a solid budget gaming mouse with as much accuracy as most will ever need. At around £15, it fits nicely within its price range and certainly feels well built and designed to last. If 1byone could fix the software download issue this would be suitable for all games no matter how their computer is configured. If you’re in need of a reliable gaming mouse that won’t cost the Earth, this is a good choice.

Buy now from Amazon

Review: Nuance PowerPDF 2 Standard – great all-rounder at less than half the cost of Adobe

Rating: ★★★★ VALUE CHOICE

PROS:

  • Inexpensive – sells for around £80 while Adobe’s equivelant is £282 upfront
  • Easy integration with Microsoft Office
  • PDF editor is quick and simple to use if a little basic
  • Wide array of security options including password protection and certificate implementation
  • Easy creation of interactive forms – ideal for making data collection more user friendly

CONS:

  • UI a tad dull and feels plain
  • Mac version not included (limited version available seperately)

Learn more about Power PDF 2.0

Rendering PDFs is something that is now a lot simpler than it used to be. Microsoft Office has had built in PDF support for some time allowing you to export most documents as a PDF and there are numerous online converters that will translate images and documents into PDFs in a single click. However, the task of actually creating PDFs from scratch or using more advanced PDF functionalities such as encryption, write protection and built-in word processing capabilities is still a premium feature within PDF software. Nowadays, there’s quite a lot of choice in terms of software in this category – with the obvious choice being an Adobe solution, but they’re horrendously overpriced. The question is, can other providers do the same thing for less? I’ve got some new software in my hands to try!

Nuance isn’t new to the PDF market – their previous Power PDF software was well received by critics as a good value choice for working with PDFs. Their recently released new version, Power PDF 2, is designed to build on previous success and provide some new functionality to bring up to speed.

Using Power PDF 2 is a piece of cake. The simple controls along the title bar work in a very similar way to Microsoft Office, providing simple tabs to find key controls. In a similar way, it also has a “ribbon” type menu under the file menu, making usability a key highlight in this program.

You are able to import documents to form PDFs in a number of ways using the simple tiles within the “ribbon” menu, and one of the key new features in Power PDF 2 is the ability to import from and export to cloud services such as Dropbox and Evernote. You can even import multiple documents simletaneously to mould into a single PDF document – great if you need to stick together multiple collaborated files or simply want to stitch together a document and spreadsheet into a report.

All of the usual security features are present and accounted for – with the simple security panel you can encrypt your documents, restrict editing, prevent copying and even create certificates for providing authenticity.

Power PDF 2 also adds new integration into Microsoft Office – making it easy to transport any document, spreadsheet or presentation into the software and apply any advanced functionality a simple conversion wouldn’t offer.

Power PDF 2 Office plug-in

Power PDF 2 adds an easy to access tab to each of your Office applications, making exporting as easy as can be.

One of the most powerful features of the software, in my view, is the ability to really easily create fillable PDF forms from existing documents. Isn’t it really irritating when you’re asked to fill in a document online that you have to print, fill in by hand and then scan? With Power PDF 2, you simply open any document that has space for a user input, select the FormTyper function, and the software automatically works out where text inputs or checkboxes can be filled in. This is almost flawless, managing to work out around 95% of the user inputs in my sample NHS doctor registration document.

Power PDF 2 automatically creates text and data inputs for your existing forms, making them completely interactive in a couple of clicks!

Power PDF 2 automatically creates text and data inputs for your existing forms, making them completely interactive in a couple of clicks!

My only real gripe with the software is the UI and design. Don’t get me wrong – all of the important functions are really easy to access and Nuance have done a good job of going halfway between the Microsoft Office ribbon and the Adobe sidebar controls. It just feels a little dull and uninviting – something I’m sure business users will be undeterred by, but as a home office user, it’s a little uninspiring!

Overall, though, it’s easy to see that the software is absolutely solid. At just £80, it’s reachable for a fraction of the cost of the Adobe Acrobat software while offering mostly identical features. It would have been nice if Nuance had made Power PDF 2 Mac compatible too – but they do offer a cut-down alternative for Apple users (at an additional cost). If you need to use the advanced features of the PDF platform but don’t want to shell out huge amounts of money to Adobe, this is the way to go – and I’ve given it a value choice award for its attractive price tag. Power PDF 2 is avaialble now directly from Nuance and should eventually be availalable from other third parties, too.

Buy now from Nuance direct – best price at time of writing £79.99