Rating: ★★★★ VALUE CHOICE
PROS:
- Inexpensive – sells for around £80 while Adobe’s equivelant is £282 upfront
- Easy integration with Microsoft Office
- PDF editor is quick and simple to use if a little basic
- Wide array of security options including password protection and certificate implementation
- Easy creation of interactive forms – ideal for making data collection more user friendly
CONS:
- UI a tad dull and feels plain
- Mac version not included (limited version available seperately)
Learn more about Power PDF 2.0
Rendering PDFs is something that is now a lot simpler than it used to be. Microsoft Office has had built in PDF support for some time allowing you to export most documents as a PDF and there are numerous online converters that will translate images and documents into PDFs in a single click. However, the task of actually creating PDFs from scratch or using more advanced PDF functionalities such as encryption, write protection and built-in word processing capabilities is still a premium feature within PDF software. Nowadays, there’s quite a lot of choice in terms of software in this category – with the obvious choice being an Adobe solution, but they’re horrendously overpriced. The question is, can other providers do the same thing for less? I’ve got some new software in my hands to try!
Nuance isn’t new to the PDF market – their previous Power PDF software was well received by critics as a good value choice for working with PDFs. Their recently released new version, Power PDF 2, is designed to build on previous success and provide some new functionality to bring up to speed.
Using Power PDF 2 is a piece of cake. The simple controls along the title bar work in a very similar way to Microsoft Office, providing simple tabs to find key controls. In a similar way, it also has a “ribbon” type menu under the file menu, making usability a key highlight in this program.
You are able to import documents to form PDFs in a number of ways using the simple tiles within the “ribbon” menu, and one of the key new features in Power PDF 2 is the ability to import from and export to cloud services such as Dropbox and Evernote. You can even import multiple documents simletaneously to mould into a single PDF document – great if you need to stick together multiple collaborated files or simply want to stitch together a document and spreadsheet into a report.
All of the usual security features are present and accounted for – with the simple security panel you can encrypt your documents, restrict editing, prevent copying and even create certificates for providing authenticity.
Power PDF 2 also adds new integration into Microsoft Office – making it easy to transport any document, spreadsheet or presentation into the software and apply any advanced functionality a simple conversion wouldn’t offer.
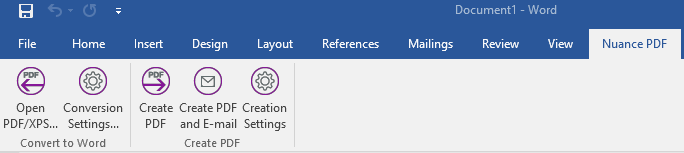
Power PDF 2 adds an easy to access tab to each of your Office applications, making exporting as easy as can be.
One of the most powerful features of the software, in my view, is the ability to really easily create fillable PDF forms from existing documents. Isn’t it really irritating when you’re asked to fill in a document online that you have to print, fill in by hand and then scan? With Power PDF 2, you simply open any document that has space for a user input, select the FormTyper function, and the software automatically works out where text inputs or checkboxes can be filled in. This is almost flawless, managing to work out around 95% of the user inputs in my sample NHS doctor registration document.
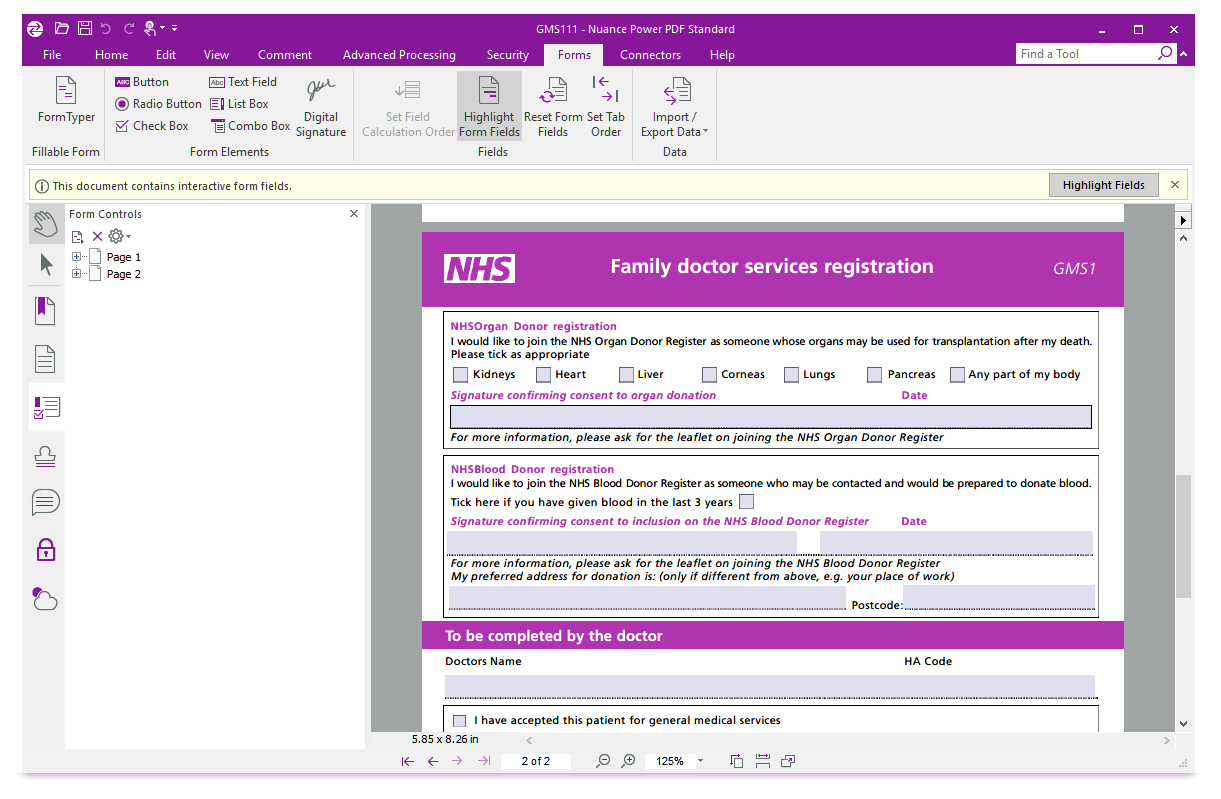
Power PDF 2 automatically creates text and data inputs for your existing forms, making them completely interactive in a couple of clicks!
My only real gripe with the software is the UI and design. Don’t get me wrong – all of the important functions are really easy to access and Nuance have done a good job of going halfway between the Microsoft Office ribbon and the Adobe sidebar controls. It just feels a little dull and uninviting – something I’m sure business users will be undeterred by, but as a home office user, it’s a little uninspiring!
Overall, though, it’s easy to see that the software is absolutely solid. At just £80, it’s reachable for a fraction of the cost of the Adobe Acrobat software while offering mostly identical features. It would have been nice if Nuance had made Power PDF 2 Mac compatible too – but they do offer a cut-down alternative for Apple users (at an additional cost). If you need to use the advanced features of the PDF platform but don’t want to shell out huge amounts of money to Adobe, this is the way to go – and I’ve given it a value choice award for its attractive price tag. Power PDF 2 is avaialble now directly from Nuance and should eventually be availalable from other third parties, too.
Buy now from Nuance direct – best price at time of writing £79.99