Tag Archives: review

[Christmas 2015 Gift Ideas] Review: Tendak 2.7″ Car DVR Dashcam – first class footage for under £60!

This slideshow requires JavaScript.

Rating: ★★★★½

PROS: 

  • Excellent footage quality at both 1080p and 720p with stunning 720p 60fps
  • Automatic recording and time-stamping makes day to day use seamless
  • Very small and light
  • Includes 16GB memory card out of the box

CONS:

  • No registration plate stamping
  • Built-in battery almost pointless
  • Fiddly controls

RRP £78, best price at time of writing £56.99 on Amazon

There’s been an increasing focus on in-vehicle video recording in recent years, partly thanks to a rise in the amount of fraudulent insurance claims (such as “crash-for-cash” set-ups) and partly due the increasing difficulty of proving innocence in a collision scenario.

In fact, dashcams – as they are so-called – aren’t anything new and have actually been on the market for a number of years though. However, as their quality has improved and prices have fallen, they are all of a sudden becoming an important accessory to have, with some insurance providers even offering discounts if you have one fitted.

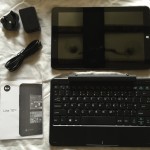
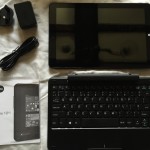
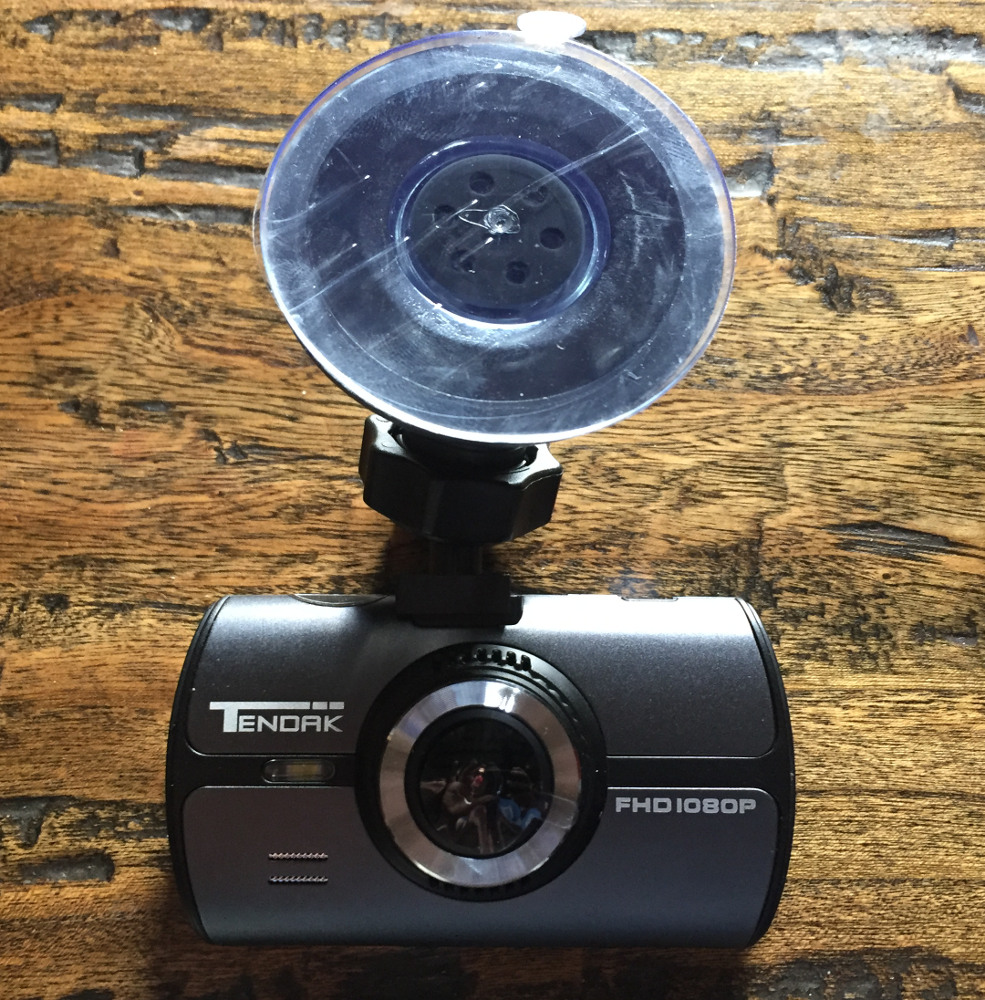
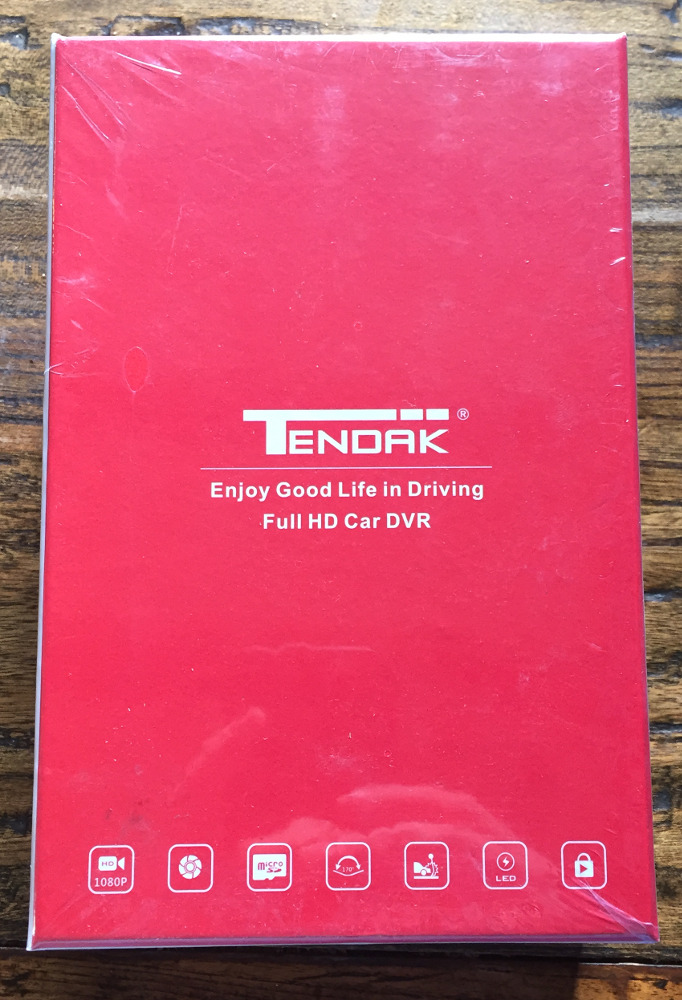
I was keen to give the technology a go and got my hands on a Tendak model direct from Amazon. Complete with a 2.7″ on-board display, all power cables and a 16GB memory card, it comes with everything you need to get started.

Without even getting to the actual testing of the product, I was immediately surprised by the size and weight of the dashcam. It is much smaller than I was expecting it to be – and this is no bad thing at all – after all, the less distractions I have in my windscreen, the better. While small, it does have excellent build quality and feels like a product that was built to last. The buttons on the left hand side of the unit are sturdy but a little difficult to press, but this doesn’t really detract from the design of the product given how rarely you’ll use them once the dashcam is set up.

Speaking of which – set up was very easy indeed. I unboxed the product indoors, stuck it on charge for a while and then switched it on. Before you do anything else, it is essential to ensure the date and time is set correctly as you could be relying on that in a legal scenario. Using the on-screen menus with the left hand side buttons was admittedly rather fidly and did take some getting used to – but it just takes a little mastering. I went ahead and set mine in 720p 60fps mode – the device is fully capable of 1080p but I wanted the higher frame rate as I feel this could be important if I ever needed the footage to send to an insurance company. Once you’ve set up your basic settings like motion detection (you’ll want this on if you want the device to work automatically) and power saving mode (turn this on if you don’t want the display on all the time while you’re driving), you’re ready to mount the device in the car. You may also want to turn on or off the on-board microphone – I for one am not hugely fussed about my in-car conversations being recorded and turned this off!

Fitting the device in your vehicle should be fairly easy. The included windscreen mount works perfectly well and securely fits the dashcam its housing. The next step is wiring the device in – and depending on your vehicle you might find this frustrating. I myself have a Mk7 Ford Fiesta which, surprisingly enough, is actually used in the product demonstration photos. In my case, I could run the power cable along the top of the windscreen without it being visible, but would need to remove trim from the side of the car to hide cables completely. The supplied power cable has ample length and you shouldn’t run into any problems there. I was also pleased to see that the included 12v vehicle charging adapter also included a built in USB port for phone charging.

Once it’s fitted, you’re ready to go. The device will boot up automatically as soon as you feed it power, and will record almost instantaneously. It’ll then, depending on how you’ve configured it, will break footage down into segments. I chose 3 minute segments as I felt this would be enough to capture most scenes. It’ll keep recording until the motion stops as long as you’ve got motion detection on (which was unbelievably accurate – almost too accurate!). And that’s about in terms of getting it going.

One word of warning though – make sure your vehicle doesn’t feed power to its 12v socket all the time – for two reasons. First, you risk running your car battery flat if it is constantly feeding power to the dashcam. Second, you’ll overwrite all of your footage with potentially usage stationary footage if you haven’t got motion detection on. Thankfully, most vehicles these days have ignition-timed power sockets, but it’s fairly important that you do check before you buy.

Video footage from the dashcam was, in my view, outstanding. OK – let’s be fair – this is a fairly small camera – but for its size I feel it performed very well. Daylight footage, in particular, was very good with very decent frame rates and suitable definition. The wide angle lens also captured almost the entire viewing area of my windscreen, which was impressive. Night footage wasn’t as good, but still fairly acceptable – especially in well lit areas. It would capture a crash at night without much trouble – but you might have some trouble reading a registration place.

Take a look at the sample footage I took to get an idea of how it performs.

Getting the footage from the camera is easy-as-can-be. Simply remove the microSD card, place it in a card reader or SD card adapter, and then copy and paste the video files you need. G-sensor detected “crash” footage is shown in the EVENT folder, while normal video footage is stored in the VIDEO folder.

The only major niggle to me was the battery. It has a rechargeable battery built in that’ll function for about 30 minutes. I get why it’s there – most likely for backup power, but it seems fairly unnecessary to me. Not exactly a massive blow, just a bit of a disappointment in that area.

Overall, I was genuinely very impressed with this dashcam. It produces excellent footage, fits neatly in your vehicle, and doesn’t cost a fortune. At around £50, this could pay for itself easily in the event of an accident.

Better still, some UK insurers now offer discounts for having a dashcam fitted. Swiftcover offers a straight 10% off for any vehicle that has a working dashcam fitted, while AXA Car Insurance offers up to 10% off for a vehicle with a working dashcam. With this in mind, your dashcam may even pay for itself!

Buy now from Amazon UK

D-Link DIR-868L review – still a high performance 802.11ac router in 2015?

IMG_2512

Rating: ★★★★½

PROS:

  • Still blazingly fast even by today’s wireless-AC standards – up to 40MB/s transfer speeds at close range over 802.11ac
  • New router firmware drastically improved since original router release
  • Excellent value for money

CONS:

  • Can be confusing to set up as a standalone wireless access point
  • Lack of some more advanced features like VPN support and Time Machine Backups

RRP: £139.99, best price at time of writing £81.99 on Amazon 

In late 2013, D-Link announced, in my opinion, what was their first decent set of wireless-AC routers to hit the market. The D-Link DIR-868L arrived to the party as the high end model at the time – boasting six internal antennas and the newly introduced with the standard “beamforming” technology that allowed wireless signals to in theory be concentrated between the wireless router and connected clients.

Benchmarks from Trusted Reviews, CNET and others all said that the router delivered very impressive transfer speeds over both wireless-N and wireless-AC.

Two years on and the router is still live and in production according to D-Link. However, it has fallen in price considerably since its original release and had various updates and revisions. The question is, two years on – is this still a fantastic router with an even better price tag? Let’s find out.

Setting up the router looks fairly easy but you do have to think a little carefully. For me, I was replacing an old but trustworthy Airport Express which was getting an ethernet feed in from my router downstairs. Now my Airport was smart enough to realise that if I connected the ethernet connection to it’s WAN port, it still could detect there was another LAN in place and gave me the choice of whether I set up a new LAN or use the existing one from the router downstairs. As my NAS is plugged in upstairs and I wanted to share that across the house, I definitely wanted to use the existing LAN. That was all very easy and automated with the Airport.

It’s not quite so simple with the DIR-868L. If you plug your ethernet feed into the WAN port, it will forcefully create a new WAN even if you manually give it commands not to and there seems to be very little way of getting around it, aside from connecting your ethernet feed to a LAN port instead. This is fine and dandy, but the router then won’t believe it is connected to the internet. Swings and roundabouts. I’m yet to find a way around this issue yet, but it’s a minor concern as the router does otherwise function normally once you cross that bridge.

Once you’re up and running, it’s very easy to get connected and start reaping the benefits. When you connect to the router for the first time, it prompts you to configure your own wireless network SSIDs and passphrases if you wish, as well as a custom router admin password. The router of course also supports WPS for easy connection. Great to see router manufacturers are prompting users to set their own passwords rather than leaving the defaults in place.

Performance from the router is still, even by todays standards, very impressive. In my benchmarks (WD MyCloud large file transfer over wireless-AC), I was getting around 38MB/s transfer speeds constantly at around 1m range. At 4m range, this was still around 28MB/s and at 10m range with two brick walls in-between I could achieve around 12MB/s transfer speeds (which is still around 96Mbps). According to CNET, one of the best performing routers of 2015 is the Linksys WRT1900ACS, and they reported that at around 67MB/s transfer speeds at 4m. That’s fantastic – but you’ve got to bear in mind its price tag is approximately £230 on Amazon – almost three times the price!

So can the D-Link DIR-868L still win from a value point of view? In my view, yes – without a doubt. At around £80 it offers what are still considered very high benchmarks and if you’re looking to move your home onto a wireless-AC network, this could be a fantastic starting point. It’s also worth noting that since the original reviews were written back in late 2013, D-Link have given the router’s interface a complete makeover from it’s very dated looking original admin panel – the new interface is much more effective. In addition, you’ve got features such as remote management, USB 3.0 device sharing/streaming support through a built in multimedia server and four Gigabit LAN ports for high speed device connections. For the more technically minded, it is also supported by DD-WRT – great if you wish to push the router to the max and gain even more functionality.

Overall, for the price, it’s a fantastic device with a unique design and very high performance. If you’re looking to move to wireless-AC on a budget, this is a big contender.

Buy now from Amazon 

Buy now from eBay UK

Review: 1byone magnetic windscreen phone mount

Rating: ★★★★★

PROS: 

  • Excellent design
  • Good value for money
  • Available in 3 different types to suit all cars and drivers

RRP £12.99, best price at time of writing £5.99 on Amazon

I tell you one thing that really gets on my nerves is the cheap, “universal”, Chinese windscreen phone mounts that you can get for your phone. They rattle, they fall apart after a couple of dozen uses, they are bulky and they are a nightmare to set up perfectly.

So you can imagine how happy I was when 1byone gave me one of their newly designed magnetic windscreen phone mounts to try. They actually come in three different flavours – one for the windscreen, car vent and – interestingly enough – the CD drive for your car.

I opted for the windscreen mount as that tends to work best for my particular car (Mk7 Ford Fiesta). This windscreen mount is different to many others that are available on the market as rather than actually holding your phone with a grip of some sort, a magnetic force is used to keep your phone in place.

Inside the box you get the mount itself, a very thin rectangular magnet and an extra circular thicker magnet.

It works like this – first of all you stick the mount in your car as you normally would. Then, you can either

  • place the thin rectangular magnet inside your phone case – between the phone and the case
  • or place the circular magnet to the back of your phone or case with pre-applied adhesive.

I chose to use the small rectangular magnet which fits snugly inside the official iPhone 6 leather case. You wouldn’t even know it was there – the phone barely appears any thicker than it was.

Once you’ve got your magnet fitted you simply place your phone in front of the mount and, of course, it’ll be magnetically stuck to the mount.

The solution works brilliantly for a number of reasons. First of all, it looks really neat and tidy. Looking at it from the right angle (from the drivers seat) it almost looks like the phone is floating in mid-air!

Second – it DOESN’T RATTLE! I know I tend to be melodramatic about these kinds of things but without doubt this is the first phone mount that doesn’t rattle at all while I’m driving. It’s probably one thing that’ll annoy some people more than others but for me having things rattling in the car drives me mad!

Finally, with it being magnetic, it’s really easy to mount and dismount. Rather than having to find  a small button on the side of the mount to release the phone, now you simply just pull the amount away firmly. And then to put it back, just place it in front of the mount again. Easy!

In this particular case I really can’t find anything to complain about. It’s a simple yet very smart idea that works perfectly in the car.

Overall, this is a fantastic phone mount that will definitely have a permanent place in my car. At just £5.99 (at the time of writing), it’s barely any more expensive than a conventional phone mount, almost making it a no brainer!

Buy now from Amazon

Linx 1010 Review – best Windows 10 tablet on the market right now?

Rating: ★★★★½

PROS:

  • Massive improvement from a design point-of-view
  • Two USB ports
  • Windows 10 works well

CONS:

  • Low resolution screen (720p)
  • Office 365 no longer included with Windows 10

Buy now from Amazon – without keyboard 

Buy now from Amazon – with keyboard

Buy now from eBay UK with keyboard

Linx have recently released their follow-up to the great value Linx 10 tablet which ran Windows 8.1, and it’s called the Linx 1010. The new version comes just in time for the new release of Windows 10 and it’s one one of the first tablets to come preloaded with the new software. So what’s new – and how does the new tablet stack up against the old one? Let’s find out!

Introduction

The Linx 1010 is designed to follow on from the success of the Linx 10. It’s designed to be great value for money while providing ample performance for most day to day tasks – such as browsing the internet, checking email and watching streaming services on the go. But the Linx 10 did this job absolutely fine as I pointed out in my last review, so what’s new – and is it worth upgrading from the previous generation?

Continue reading

A first look at the Linx 1010 – full review now live!

UPDATE: Our full review is now live – see it here!

I’ve just got my hands on one of the first fully-fledged Windows 10 tablets to arrive on the market. It’s called the Linx 1010 – and it is the successor to the great value Linx 10 tablet which I reviewed late last year.

I’m going to write up a full review over the next 2 weeks, once I’ve had a chance to give the device a full test as my daily driver. In the meantime, however, I thought I’d post up some initial photos and impressions to give you a feel for what the device looks like and how it works.

This slideshow requires JavaScript.

The images above aren’t edited or cropped – they are simply to give you an idea of what the device looks like.

Initial thoughts:

  • The new keyboard dock is a MASSIVE improvement on the last one for the Linx 10 – such a better experience. It’s often difficult to use such small keyboards for large amounts of typing – just because the keys are too small – but this one works unbelievably well and gives very nice feedback as you type.
  • It has TWO FULL SIZE USB ports – I’m not joking. This is fantastic for such a small, budget tablet. I’m not 100% sure whether they are USB 2.0 or USB 3.0 – I would think most likely the former – but even so this is a fantastic improvement. They’re on the tablet itself too – not on the dock, so you’ve immediately got a way to charge your phone or sync music directly from the tablet. Well done Linx!
  • Hardware-wise there are very few changes on the last Linx 10 tablet. Same processor, same RAM, same storage.
  • Same 720p screen resolution – not bad and perfectly usable, but a little low given the standards set by many tablets these days.
  • Battery life about on par with expectations – six two eight hours of normal use depending on the types of tasks being performed.

Full review coming in the next 2 weeks – stay tuned!

Buy now from Amazon – without keyboard

Buy now from Amazon – with keyboard